IKEA is renowned for its affordable and versatile furniture, allowing homeowners to create personalized and functional spaces. One of the latest trends in home improvement involves hacking IKEA products to achieve custom designs that suit individual styles and needs. One popular hack gaining attention is the IKEA arched cabinet hack, which adds an elegant touch to any room. In this article, we will explore how to execute this hack, the benefits it offers, and the endless possibilities it brings to your interior design.
What is the IKEA Arched Cabinet Hack?
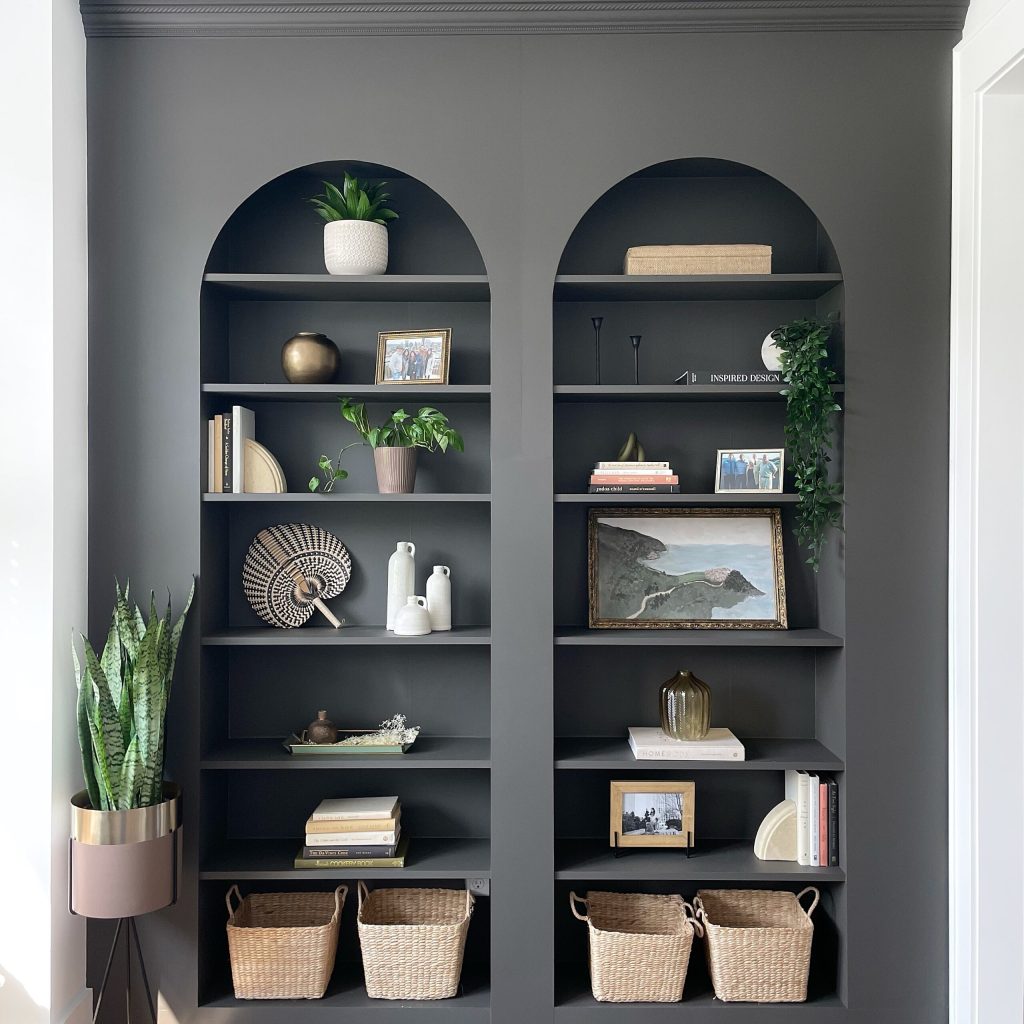
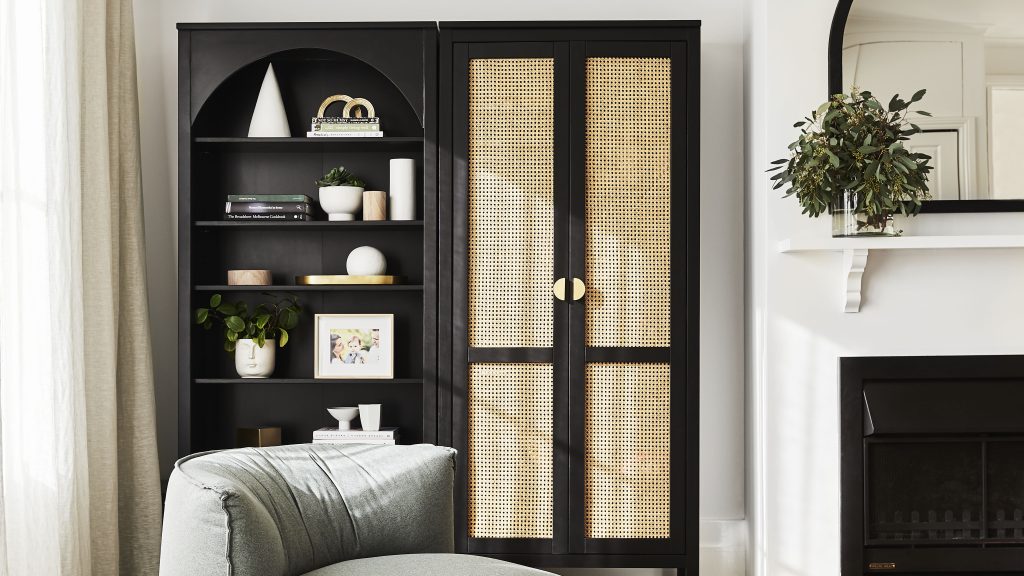
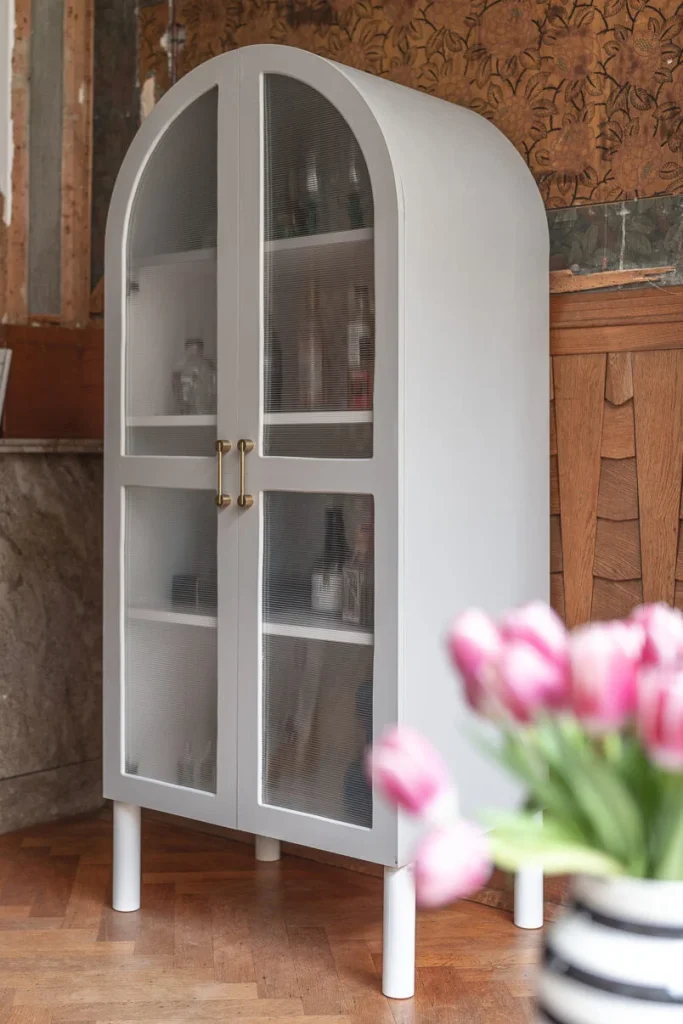
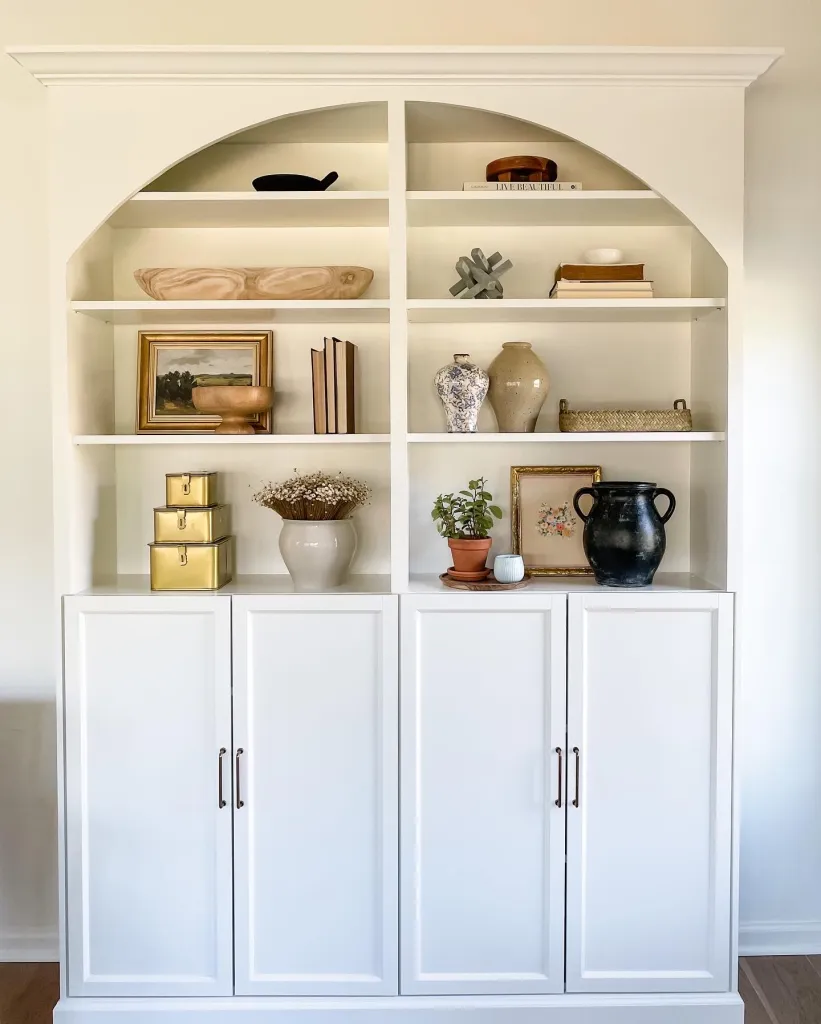
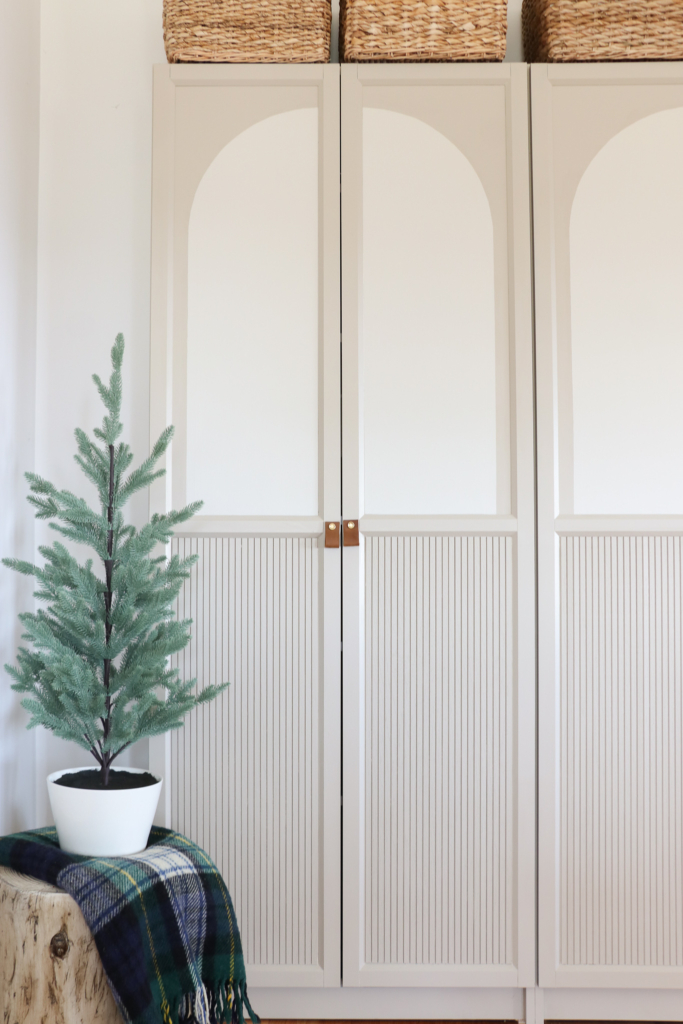
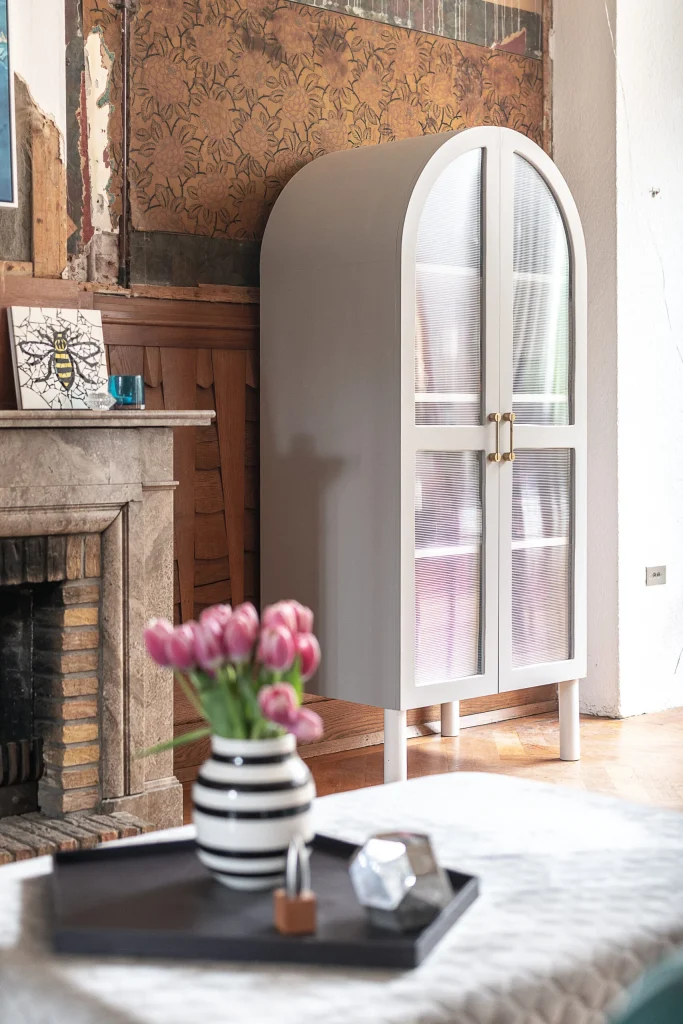
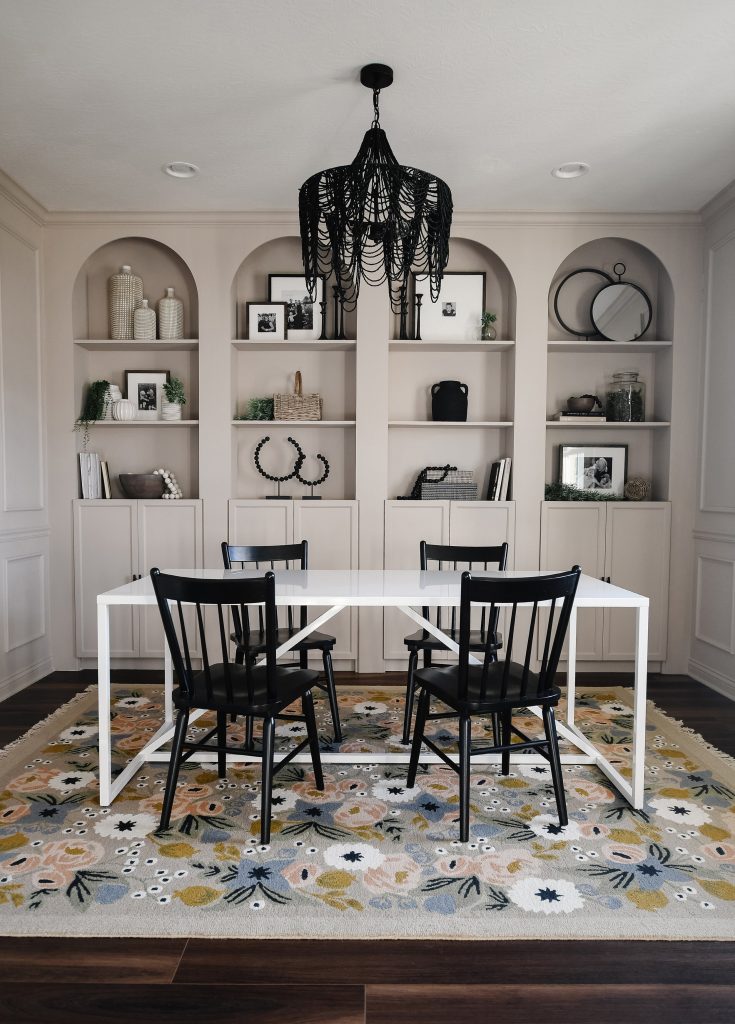
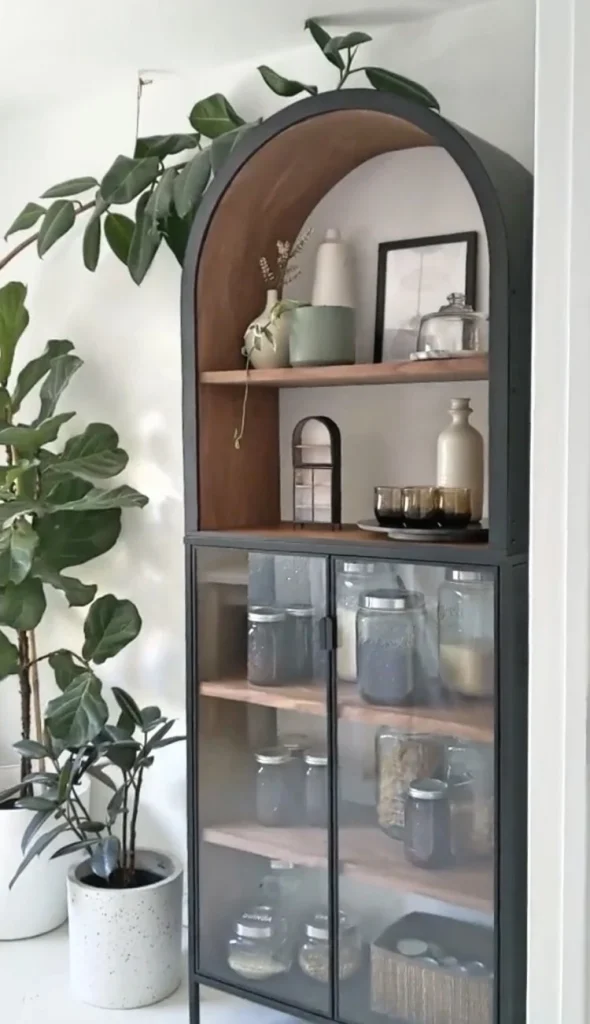
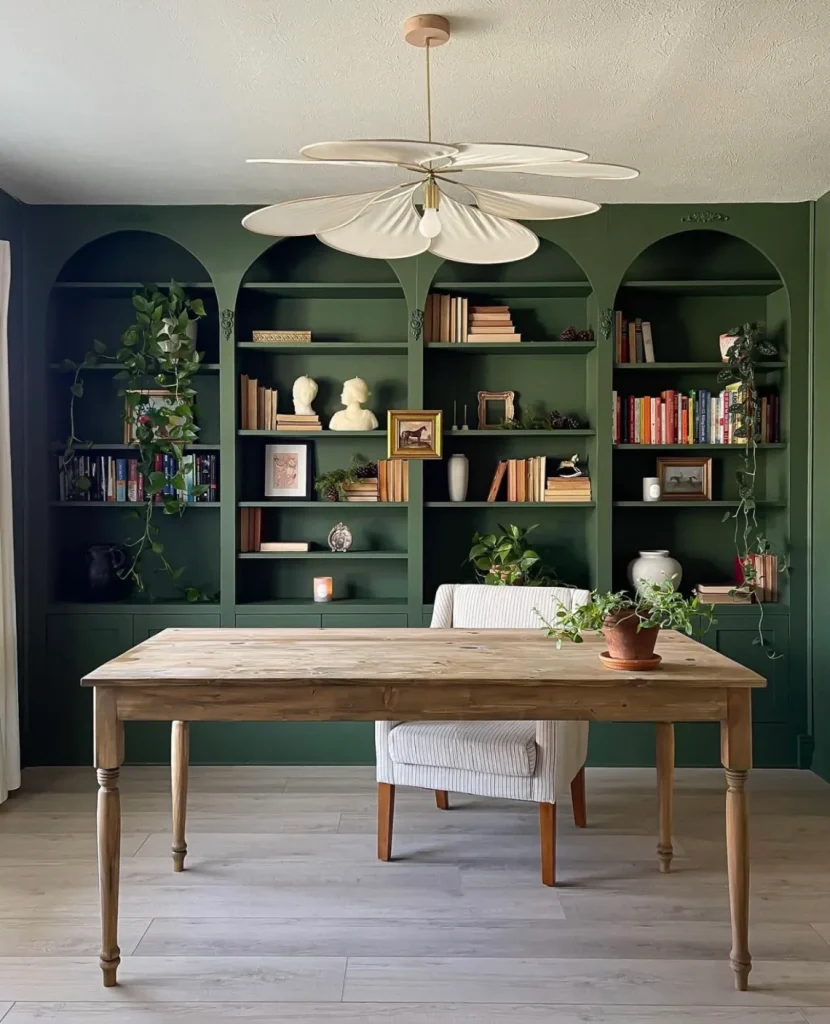
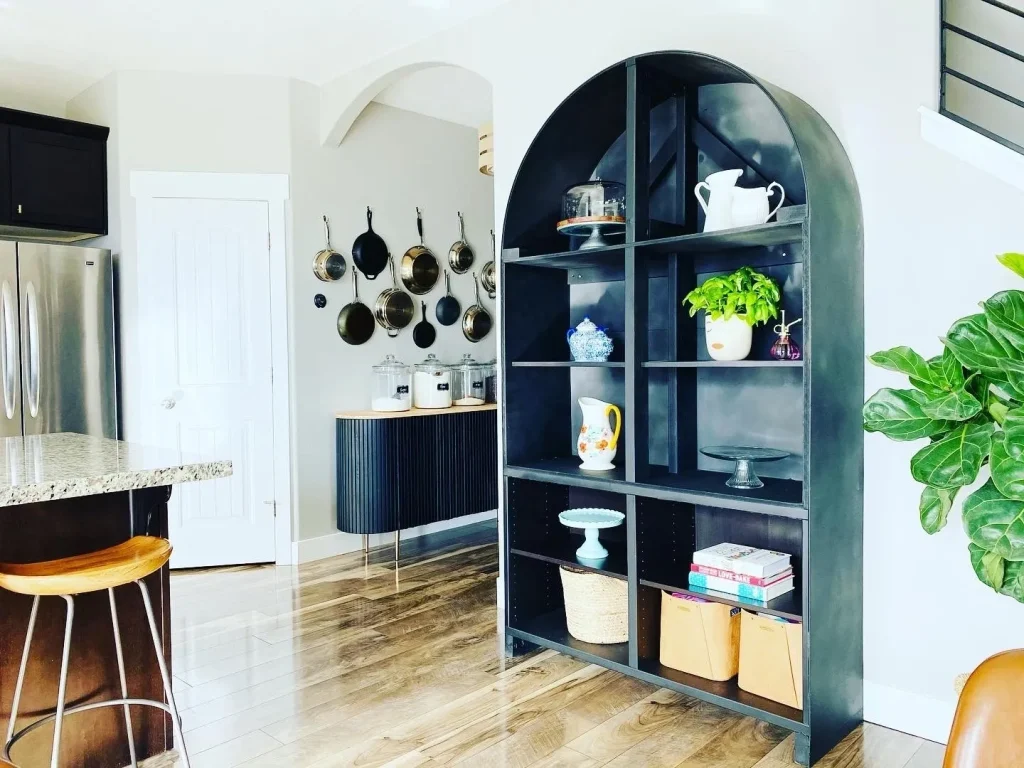
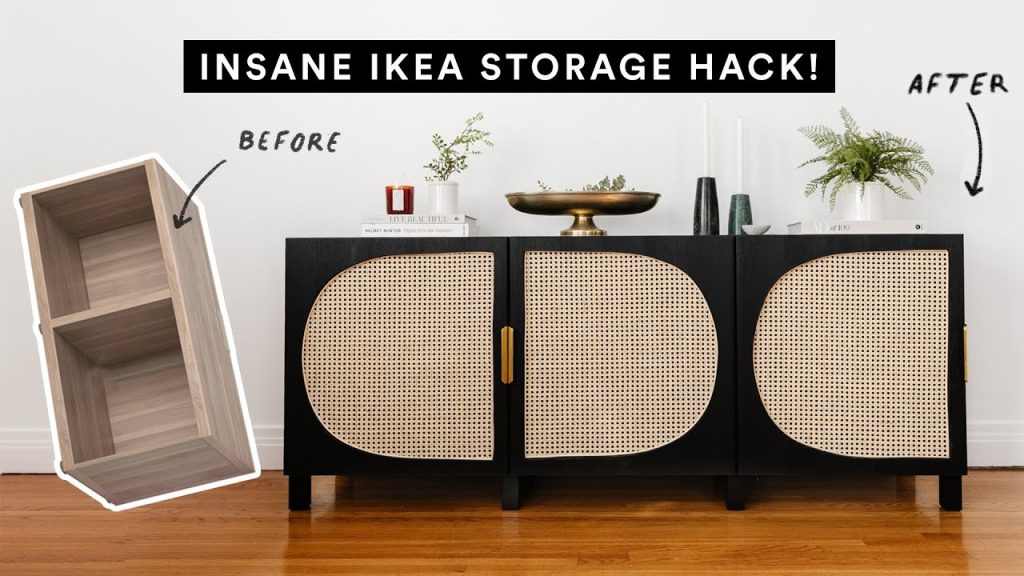
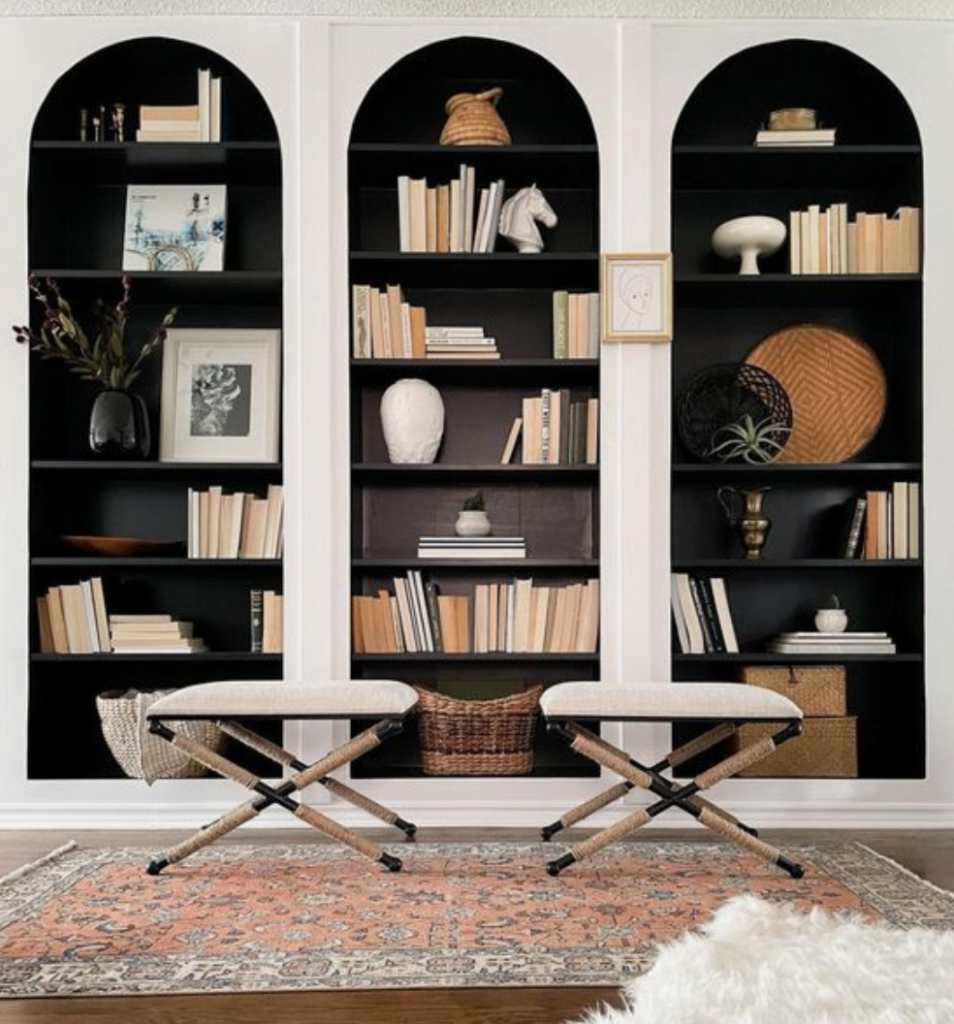
The IKEA arched cabinet hack involves transforming a standard IKEA cabinet into an eye-catching arched masterpiece. By adding an arched frame to the front of a cabinet, you instantly elevate its visual appeal and give it a unique and customized look. This hack is especially popular for kitchen cabinetry but can also be used in living rooms, bedrooms, and other areas where cabinets are used.
Materials and Tools Needed:
To execute the IKEA arched cabinet hack, you will need the following materials and tools:
- IKEA cabinet of your choice (such as the SEKTION or METOD series)
- Plywood or MDF sheets (preferably 1/2-inch thick)
- Jigsaw or circular saw
- Sandpaper
- Measuring tape
- Pencil
- Wood glue
- Clamps
- Paint or stain (optional)
- Cabinet hardware (optional)
Step-by-Step Guide:
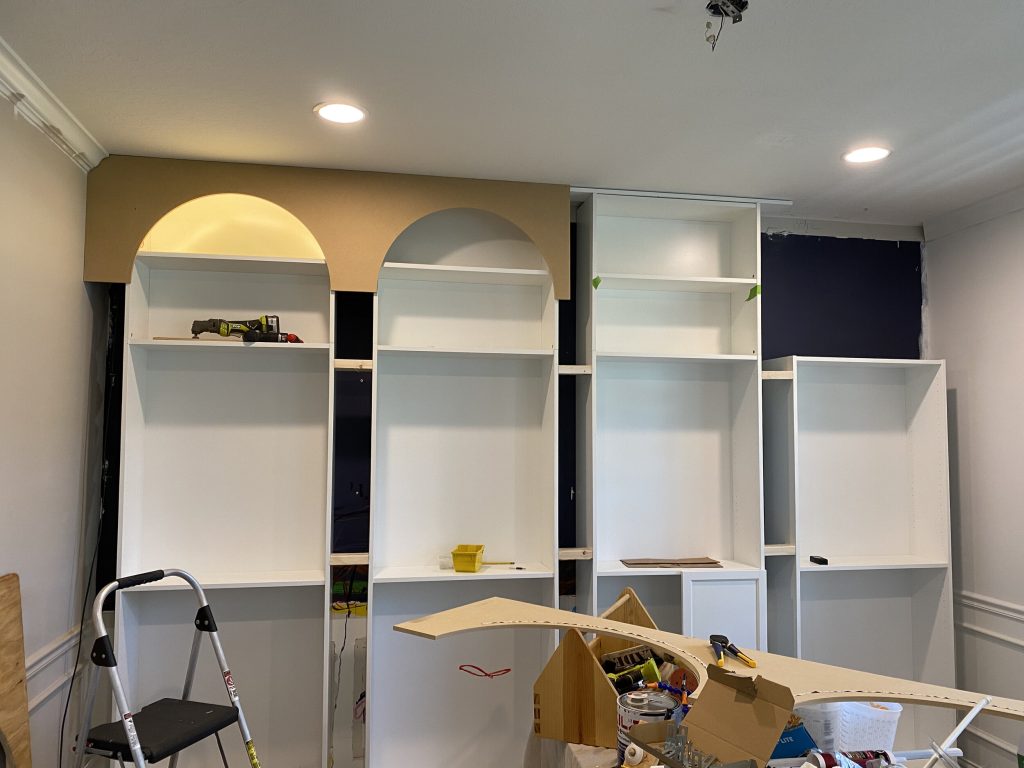
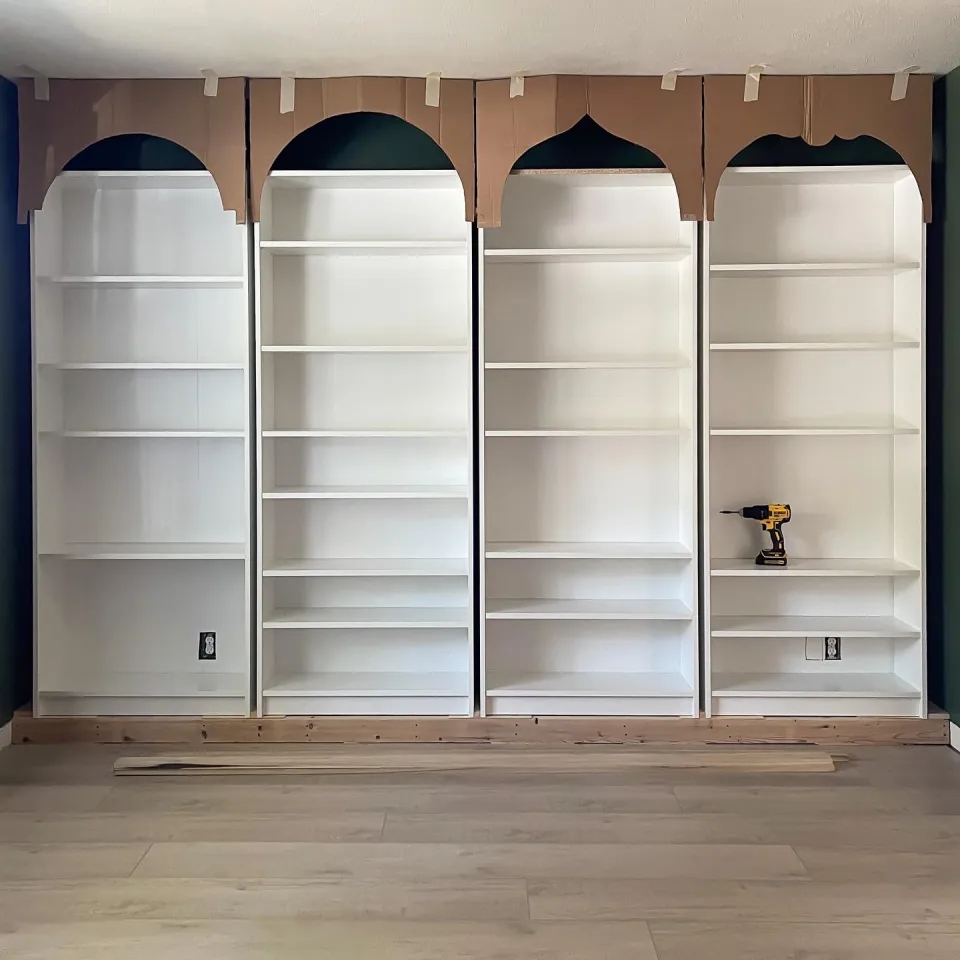
- Measure and plan: Start by measuring the dimensions of your cabinet and determining the desired size and shape of the arch. Consider the overall aesthetic of your space and choose an arch style that complements it.
- Cut the plywood/MDF sheets: Transfer the measurements onto the plywood or MDF sheets and use a jigsaw or circular saw to cut out the arched shape. Take your time to ensure precision, as this will determine the final outcome.
- Sand the edges: After cutting the arches, use sandpaper to smooth the edges and remove any roughness. This step is crucial for achieving a professional finish.
- Attach the arches: Apply wood glue along the edges of the plywood/MDF arches and carefully position them onto the front of the cabinet. Use clamps to hold them in place until the glue dries. Ensure the arches are aligned correctly and the cabinet doors can still open and close smoothly.
- Finishing touches: Once the glue is dry, you can choose to paint or stain the arches to match your desired aesthetic. Additionally, consider adding cabinet hardware, such as handles or knobs, to further enhance the look.
Benefits of the IKEA Arched Cabinet Hack:
- Cost-effective: IKEA cabinets are known for their affordability, making this hack a budget-friendly alternative to expensive custom cabinetry.
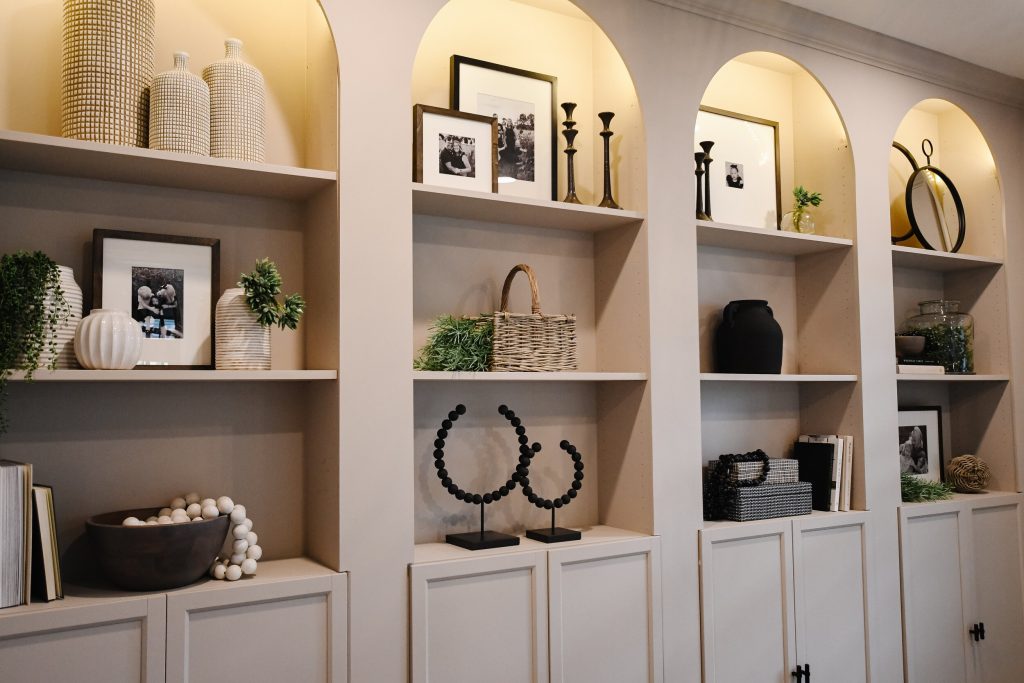
- Customization: By incorporating the arched cabinet hack, you can infuse your personal style and create a unique focal point in any room.
- Versatility: This hack can be applied to various IKEA cabinet models, ensuring you can achieve the arched look in different areas of your home.
- Professional finish: With attention to detail and proper execution, the end result can rival professionally designed cabinetry, giving your space a high-end feel.
- Easy to revert: If you ever decide to change your decor or modify the cabinet design, the arched frame can be removed, allowing you to return to the original IKEA cabinet look.
The IKEA arched cabinet hack offers an affordable and creative solution to elevate your interior design. By adding a simple arched frame to your IKEA cabinets, you can transform your space and make a stylish statement. Whether you choose to implement this hack in your kitchen, living room, or bedroom, the customization possibilities are endless. So why settle for standard cabinets when you can create a unique and visually appealing storage solution with the IKEA arched cabinet hack? Unleash your creativity and enjoy the satisfaction of a customized space that reflects your personal style.
15+ IKEA Arched Cabinet Hack Ideas