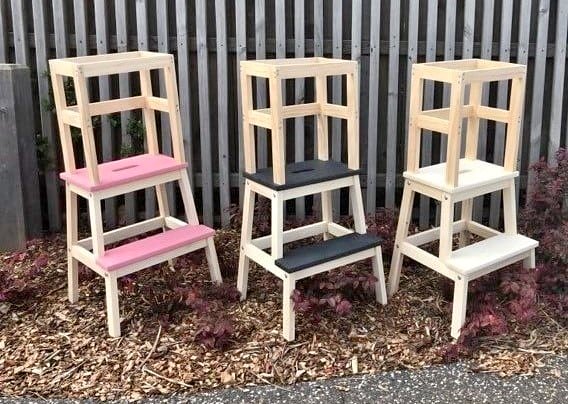
Toddlers are curious beings, constantly seeking new experiences and independence. An IKEA hack learning tower can be a valuable addition to your home, providing a safe and engaging space for your child to explore, learn, and participate in everyday activities. In this article, we’ll guide you through the process of building your own learning tower using affordable materials and an IKEA stool. Let’s get started!
Materials Needed:
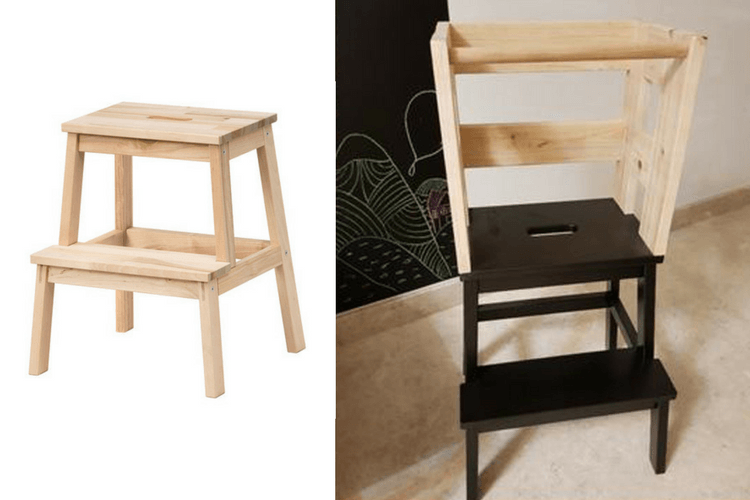
- IKEA BEKVÄM step stool
- ¾ inch plywood (approximately 3 feet by 2 feet)
- Screws
- Screwdriver or drill
- Sandpaper
- Non-toxic paint or stain (optional)
- Foam or rubber padding (optional)
Step 1: Prepare the IKEA BEKVÄM Stool Start by assembling the IKEA BEKVÄM step stool according to the manufacturer’s instructions. This stool serves as the foundation for your learning tower.
Step 2: Measure and Cut the Plywood Measure and cut the plywood to create the platform where your child will stand. The dimensions can vary depending on your preference, but a size of approximately 3 feet by 2 feet works well. Smooth the edges of the plywood using sandpaper to ensure they are safe for your child.
Step 3: Attach the Platform to the Stool Place the plywood platform on top of the assembled stool, aligning it with the edges. Use screws to secure the platform to the stool legs. Make sure the screws are long enough to provide a sturdy connection.
Step 4: Enhance Safety and Comfort (Optional) To enhance safety, consider adding foam or rubber padding to the edges of the plywood platform. This step can help prevent any accidental bumps or bruises. Secure the padding using adhesive or tape, ensuring it is firmly in place.
Step 5: Finishing Touches (Optional) If desired, you can apply a coat of non-toxic paint or stain to the plywood platform. Choose a color that matches your style or complements your child’s play area. Allow the paint or stain to dry completely before allowing your child to use the learning tower.
Safety Considerations:
- Regularly inspect the learning tower for any signs of wear and tear. Tighten screws if needed and replace any damaged parts.
- Always supervise your child while they are using the learning tower to ensure their safety.
- Place the learning tower on a stable and level surface to prevent tipping.
- Keep the learning tower away from hazardous objects or surfaces.
Benefits of the IKEA Hack Learning Tower:
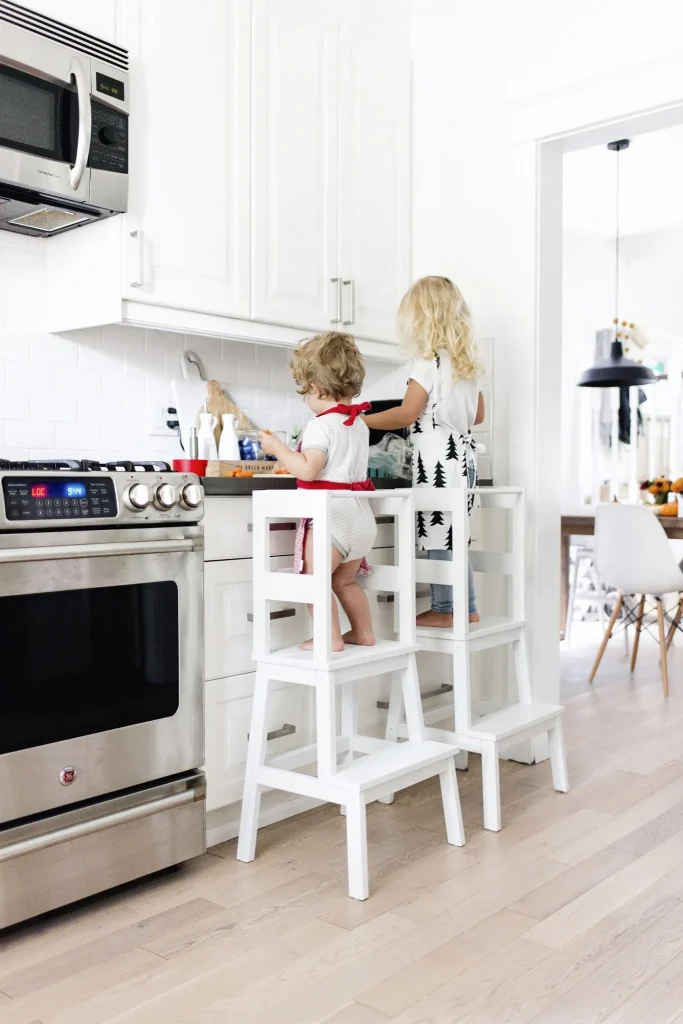
- Encourages Independence: The learning tower allows your toddler to safely reach countertops, sinks, or tables, fostering independence in daily activities like cooking, baking, or cleaning.
- Promotes Learning and Exploration: With an elevated vantage point, your child can observe and engage in various household tasks, developing essential skills and expanding their understanding of the world around them.
- Enhances Social Interaction: Your child can actively participate in family gatherings, conversations, and meal preparation, promoting social interaction and a sense of belonging.
- Versatile and Cost-Effective: Building an IKEA hack learning tower is a budget-friendly alternative to purchasing a pre-made tower. It also provides the flexibility to customize it according to your child’s needs and your home’s decor.
Building an IKEA hack learning tower is a rewarding project that offers countless benefits for your toddler’s development. By following these simple steps, you can create a safe and engaging space for your child to learn, explore, and actively participate in household activities. Remember to prioritize safety, supervise your child at all times, and enjoy witnessing their newfound independence unfold.